Build a secure Laravel authentication system with custom roles in just 15 minutes. No third-party packages, only clean and modern Laravel code.
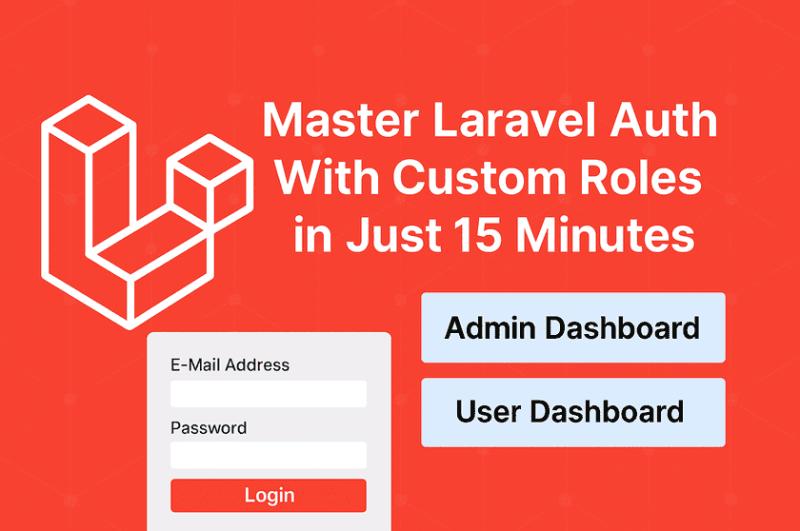
Master Laravel Auth With Custom Roles in Just 15 Minutes
Laravel 11 is cleaner and faster and so should be your authentication system. Instead of using Spatie or other packages, let’s manually implement custom roles within Laravel's built-in auth in just 15 minutes.
We'll cover:
• User registration
• Role assignment
• Middleware for access control
• Blade checks
• Dashboard access based on role
🔹 Step 1: Create Project and Auth
Note: If you're using Laravel Breeze or Laravel UI, auth scaffolding will differ slightly.
🔹 Step 2: Add role to Users Table
Edit the migration:
Run migration again:
🔹 Step 3: Update Registration to Include Role
And in your registration form:
🔹 Step 4: Middleware for Role-Based Access
Create middleware:
Now edit it:
Register it in app/Http/Kernel.php:
🔹 Step 5: Create Routes with Role Middleware
🔹 Blade Role Checks
🔹 Optional: Seeder for Quick Testing
Run seeder:
🔹 Security Tip
Always validate the role assignment to prevent users from registering as admins through frontend manipulation.
🧠 Conclusion
With these simple steps, you've built a full custom Laravel role-based auth system in less than 15 minutes, without relying on external packages. This method is:
• Lightweight
• Fully customizable
• Easy to test and extend
Want to add permissions next? That's your next challenge. 😉
Final Thought
Every successful project balances performance, flexibility and simplicity. Tailor your backend stack to your business needs not trends.